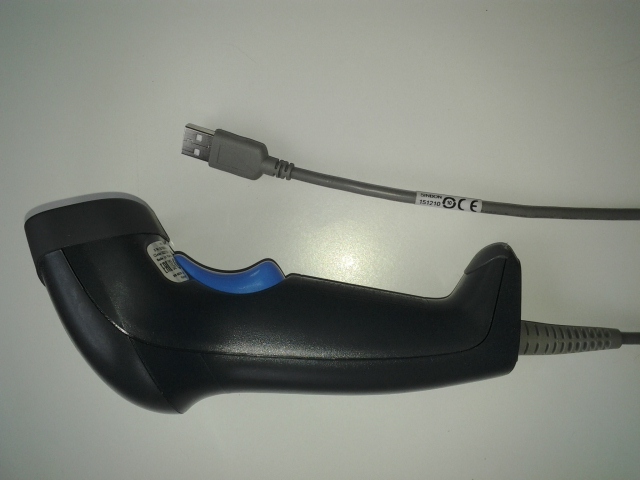
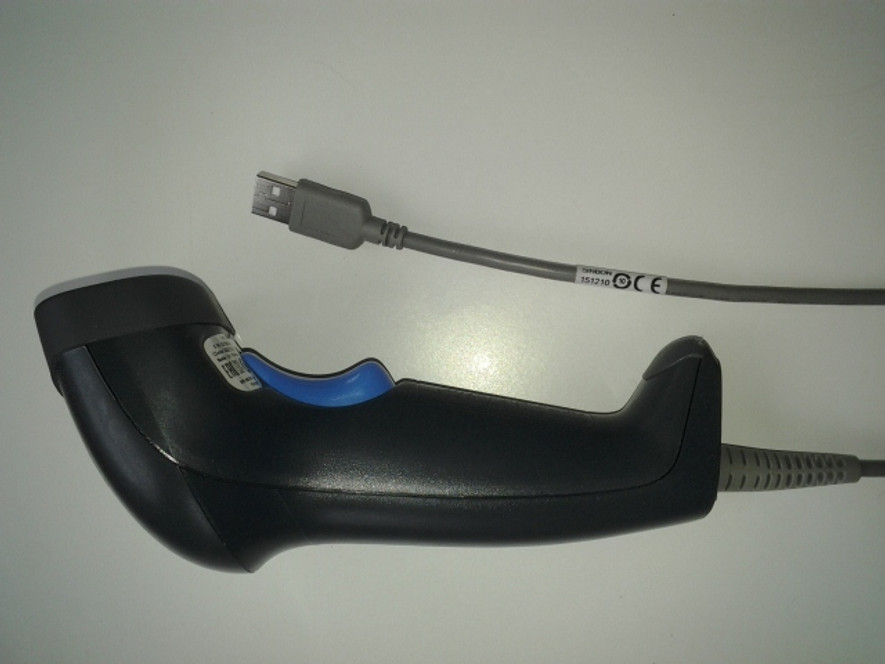
Barcode Scanner Support: How Do I Install a USB Barcode Scanner?
A USB barcode scanner is a “plug and play” device, and your computer will install a USB barcode scanner as a
 standard USB keyboard input device, so installation of a USB barcode scanner is generally a simple process:
Step 1: Connection. Connect your USB barcode scanner to your computer’s USB port. Most USB barcode scanners are still USB 2.0, but even if you have a computer with USB 3.0 ports, don’t worry; you computer’s USB 3.0 ports are backwards compatible with 2.0. Please note that most handheld USB barcode scanners come with a full size USB connector, so if you are connecting your USB barcode scanner to a tablet be sure your tablet has a full size USB port, or get a barcode scanner that has a micro USB port connection type.
Step 2: Check Scanner Power. When you plug your USB barcode scanner into the computer’s USB port, the scanner should immediately activate with a beep (or series of beeps), the indicator light atop the USB scanner’s head will illuminate, and if you position the scanner face down, you should see a red light beam emanate. If your barcode scanner does not power on when plugged into your computer, recheck the connection and also the scanner’s cable for any damage.
Step 3: Test. The final step is to test your USB barcode scanner. This can be simply done by opening an application such as “Notepad” or some other text editor application. Make sure you see the cursor blinking in the text editor, then get an item that is barcoded and scan it with your newly installed USB barcode scanner. You should see the scanned barcode’s information appear in the text editor just as if you typed in in on a keyboard.
Please view our YouTube tutorial video below on how to install a USB barcode scanner for further assistance:

